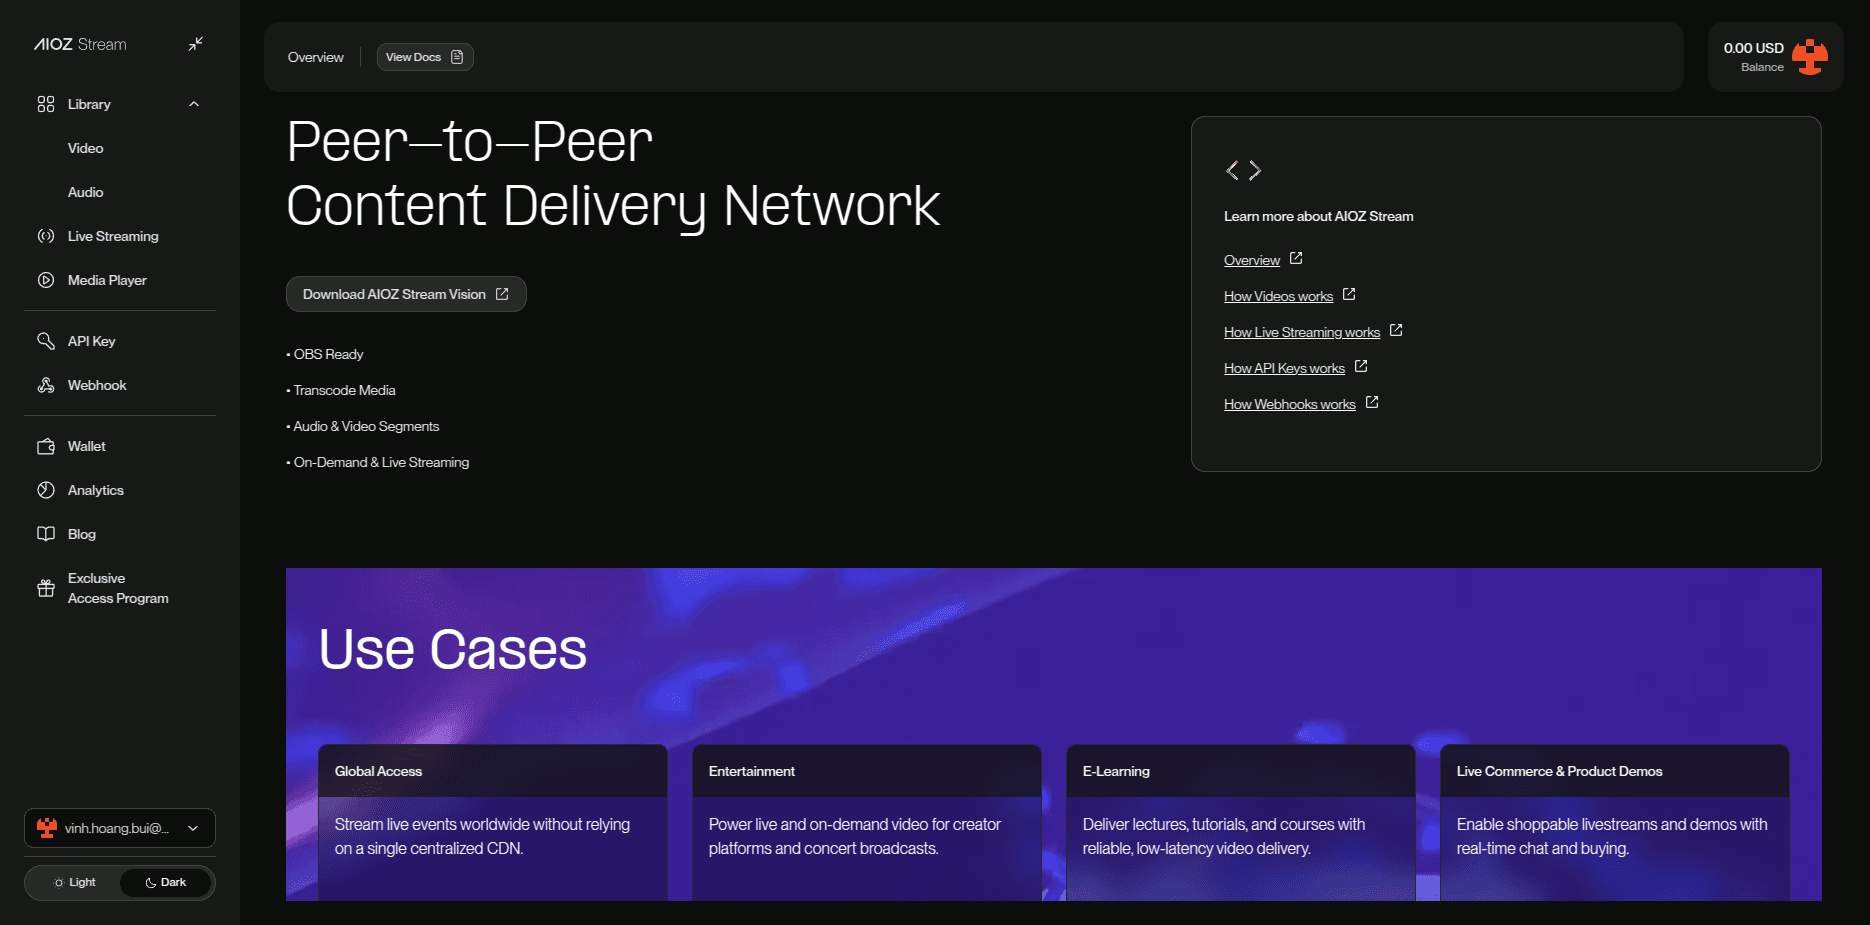
Steps to use our product
Follow the step-by-step instructions below to set up and start using the AIOZ
Stream service quickly. This guide will walk you through everything from signing
up to uploading files via our SDK API.
Step 1: Signing up for our Web3 streaming service
The first step in using the AIOZ Stream service is to sign up for an account. Here’s how you can do it:
- Visit the signup page: Navigate to our official website and click on the "Sign Up" button at the homepage's top right corner.
- Receive a 6-digit code: After signing up, you will receive a 6-digit code via email. Enter this code to verify your email and log in.
- Verify your email: After submitting your details, check your inbox for a verification email from us. Click the verification link to confirm your email address.
With your account created, you’re now ready to start using our Web3 streaming service.
Step 2: Top up AIOZ
To use the AIOZ Stream service, you'll need to top up your account with AIOZ tokens. This will allow you to pay for storage, delivery, and transcoding services.
- Access your wallet: Navigate to the "Account" section within your account dashboard.
- Get your wallet address: Your unique wallet address will be displayed. Copy this address as you will need it to make deposits.
- Deposit AIOZ tokens: Transfer the desired amount of AIOZ tokens from your external wallet to your AIOZ Stream wallet address. Make sure to send only AIOZ tokens to avoid the loss of funds.
- Confirm your deposit: After the transaction is confirmed on the blockchain, the deposited amount will be reflected in your account balance.
With your wallet topped up, you're ready to start using the services provided by AIOZ Stream.
Step 3: Uploading a video via the website
Once your account is funded, you can begin uploading files directly through our website.
- Log in to your account: Access your account by logging in through our website.
- Navigate to the upload section: Go to the "Videos" section in your dashboard.
- Select a file: Click on the "Upload your first video" button or drag and drop the file you want to upload from your local device.
- Configure upload settings: You can adjust settings such as file privacy, metadata, and transcoding options before initiating the upload.
- Start the upload: Click the "Upload" button to start uploading your file. You can monitor the progress through the interface.
After the upload is complete, your file will be ready for streaming or further processing.
Step 4: Getting an API key
If you wish to integrate our services into your application, you'll need an API key and upload token. Here’s how to get them:
- Go to the API section: In your account dashboard, navigate to the "API Keys" section.
- Create a new API key: Click on "Add an API Key" and provide the necessary
information:
- Name: A descriptive name for the API key.
- Role: Choose between "Upload-Only" or "Full Access" depending on your needs.
- Expiration Time: Set an expiration time for the API key.
- Generate the key: After filling in the details, click "Create" You will receive a public token and a secret token.
- Store the tokens securely: Copy and securely store both the public and secret tokens. The secret token should not be shared publicly or exposed in client-side code.
With your API key and upload token ready, you can now programmatically interact with the AIOZ Stream service.
Step 5: Uploading videos via the AIOZ Stream SDK API
For more advanced use cases, such as bulk uploads or automated processes, you can use the AIOZ Stream SDK API.
- Install the SDK: Depending on your development environment, install the AIOZ Stream SDK. For example, if you’re using Node.js, you can install the SDK via npm:
With npm:
npm install @aiozstream/nodejs-client --save...or with yarn:
yarn add @aiozstream/nodejs-client-
Initialize the SDK: Import and initialize the SDK in your project using your API key:
const StreamClient = require('@aiozstream/nodejs-client'); // or: import StreamClient from '@aiozstream/nodejs-client'; const client = new StreamClient({ publicKey: "YOUR_PUBLIC_KEY", secretKey: "YOUR_SECRET_KEY", }); -
Create a video: Use the SDKs to create your first video:
const videoCreationPayload = { title: 'Maths video', // The title of your new video. description: 'A video about string theory.' // A brief description of your video. } const video = await client.video.create(videoCreationPayload) if (!video.data) { throw new Error('Failed to create video') } if (!video.data.id) { throw new Error('Failed to create video') } -
Complete the upload: Then you can upload a video and check if success:
await client.video.uploadPart(video.videoId, '/path/to-your-video-file.mp4')
// Check the upload status to see if it succeeded
await client.video.uploadVideoComplete(video.videoId)
By following these steps, you can seamlessly integrate the AIOZ Stream service into your applications, making it easier to manage and stream content at scale.